Sunday, March 27, 2011

Installing Puppy Linux (Full HDD Install)

Add caption
This Howto was done using Puppy 4.00 (Dingo) as the guinea pig.

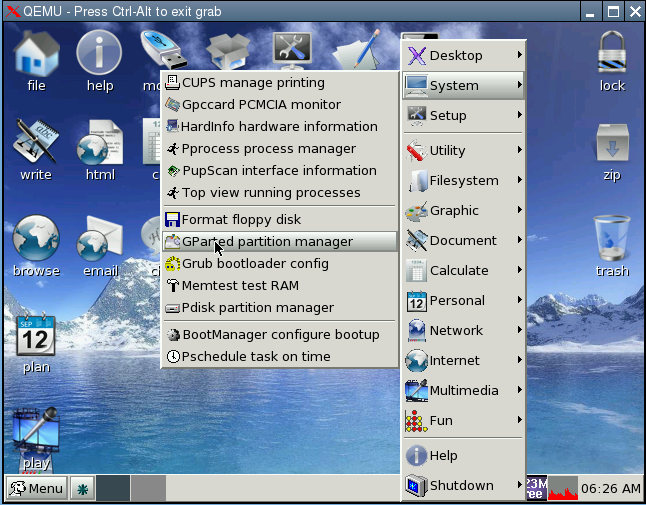
The purpose of it, is to show how to do a FULL install on an empty HDD,
it does not attempt to explain how to dual boot puppy with another already installed OS.

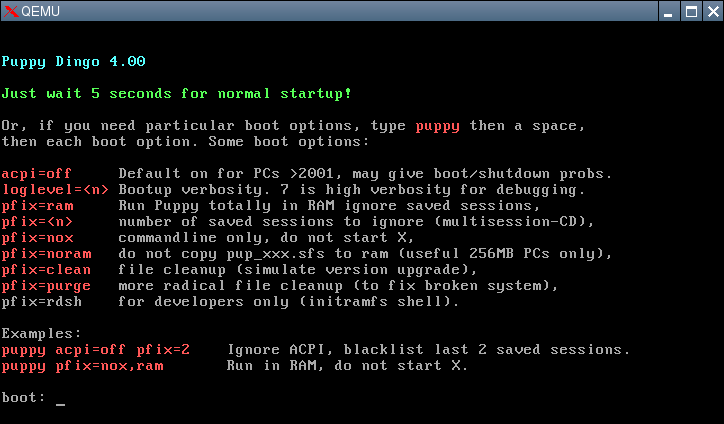
It also assumes that your PC is able to boot from a CD,
and that you are installing to a normal internal hard drive.

Please note that the partition sizes i used are for example only,
you should make yours to the sizes that you want.

As to the size of the SWAP partition,
it is usually recommended that it is twice the size of your RAM.

So if you have 128M of RAM, create a SWAP partititon of 256M etc,etc

Before we start, make a note of what screen resolution your graphics card/monitor can handle,
you will need this information pretty soon after booting the CD.

    Also note that because this was done using QEMU, i had to use Xvesa therefore i cannot show any screenshots for the Xorg sequences. QEMU is a generic and open source machine emulator and virtualizer. For more information, visit the QEMU website So for the purpose of this howto, just ignore the QEMU window, you will not see it yourself, so do not expect to.


source: CatDude of http://www.murga-linux.com

Install Puppy Linux to a Flash Drive using the CD

In this simple USB Puppy Linux tutorial we illustrate how to easily Create a Puppy Linux USB Flash Drive using the Universal installer included on the Puppy Linux CD. Puppy is a unique Linux compilation created by Barry Kauler. It is super small, yet contains many useful tools and utilities. Most versions of Puppy Linux will fit on even a 128MB USB stick. Making it great to install to those older tiny thumb drives you might have sitting around.


Screenshots
Distribution Home Page: puppylinux.org
Minimum Flash Drive Capacity: 128MB
Persistent Feature: Yes
What you need to create a Portable Puppy Flash Drive
  • 128MB or larger USB Stick
  • PC with a CD reader/burner
  • Puppy ISO and a blank disk

USB Puppy Flash Drive Installation process

Puppy Linux contains it's own Universal Installer so installation is fairly straightforward.
  1. Download Puppy linux ISO and burn the ISO to CD.
  2. Start your computer via the Puppy CD.
  3. Once Puppy has loaded, from the Taskbar, Click: Start > Setup > Puppy universal installer
  4. Puppy Linux USB Install
  5. Follow the onscreen instructions which will walk you through the Puppy USB installation process
  6. When finished with the Puppy USB install, reboot your PC and go into system BIOS to change your boot order to boot from the USB device
  7. Save your settings and reboot your PC to enjoy running Puppy Linux from USB.

Why Puppy Linux?

Looking for a Linux distro that can make your old pc up and running? 


Puppy's goals

  • Easily install to USB, Zip or hard drive media.
  • Booting from CD (or DVD), the CD drive is then free for other purposes.
  • Booting from CD (or DVD), save everything back to the CD.
  • Booting from USB Flash drive, minimise writes to extend life indefinitely.
  • Extremely friendly for Linux newbies.
  • Boot up and run extraordinarily fast.
  • Have all the applications needed for daily use.
  • Will just work, no hassles.
  • Will breathe new life into old PCs
  • Load and run totally in RAM for diskless thin stations

These are extraordinary goals, yet Puppy comes close to achieving them all. The fundamental reason is that Puppy has been built from scratch, file-by-file, and is not based on any other Linux distribution. One of the most amazing features of Puppy is the range of powerful applications yet such tiny size ...and the speed.

Puppy really is small, the live-CD typically being 85MB, yet there really is a complete set of GUI applications. Being so small, Puppy usually loads completely into RAM, which accounts for the incredible speed.

The creator of Puppy

Barry Kauler created Puppy Linux, bringing out version 0.1 in June 2003. This site, puppylinux.com is maintained by Barry. These days though, the overall Puppy-project is a team effort, with many developers and testers.

Give it a try, visit their
Official website @:
http://www.puppylinux.com/